I was planning a bigger two-week project over the last week, but it has sort of snowballed into an even bigger project than I imagined (as often does with crafting) and so I'm going to have to delay the unveiling of it until I'm able to get my hands on a few more materials I need.
In the meantime I decided to do a 'follow along' and tutorial review for this fantastic gathered clutch bag tutorial I saw for on Noodle Head.
One of the things I like about the tutorial is that it is very clear, and where people have pointed out suggestions or the author has realised steps could be confusing - she has updated and amended it to make it even simpler.
I found this tutorial really easy to follow along, and found it went so quick I whipped up a second one for a friend's birthday.
The only thing I did was amend the design slightly by adding a little strap (which I've included as a little add-on tutorial below). What do you think of the results?
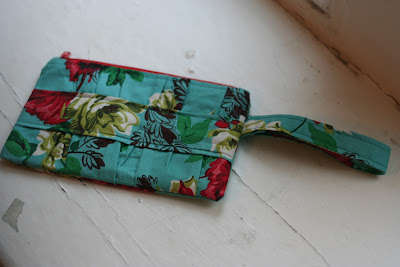
I thought adding a simple strap worked really nicely, and for this clutch I decided to use the same fabric for both the main body and the band across it, mainly due to a lack of any matching fabric - but I think it works very well.
As usual the clutch will be on auction this week for Macmillan Cancer Support. When it is listed it will appear below:
Clutch Tutorial Add On:
Follow this fantastic gathered clutch bag tutorial by Noodle-Head.com with these addition steps.
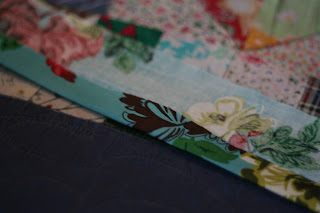
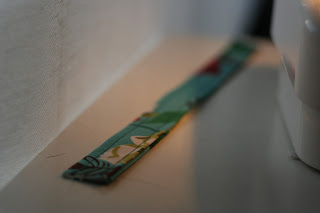
1. Cut a piece of fabric (matching or contrasting - your choice) that measures 12.4 inches by 3.5 inches.
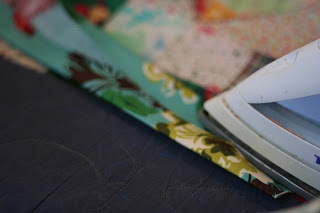
2. Press it in half lengthwise, open and then press each long raw edge into the middle towards the line you just pressed so that you only have the raw edges showing at either end.
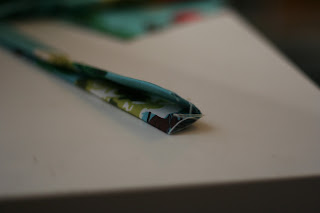
3. The sew some finishing stitches down either side of your strap (1/4 inch from the edge or so) so that is has a nice finished edges.

4. Set your strap aside until it comes time to assemble the entire thing. Fold the band over and pin it into the seam of which ever side you want your strap to be on, so that it sits just under the zipper.
5. Sew following the same instructions, but making sure to catch the strap so that is it nice and secure. I also add an extra line of stitching between the seam and the raw edges to reinforce the strap.
In the meantime I decided to do a 'follow along' and tutorial review for this fantastic gathered clutch bag tutorial I saw for on Noodle Head.
One of the things I like about the tutorial is that it is very clear, and where people have pointed out suggestions or the author has realised steps could be confusing - she has updated and amended it to make it even simpler.
I found this tutorial really easy to follow along, and found it went so quick I whipped up a second one for a friend's birthday.
The only thing I did was amend the design slightly by adding a little strap (which I've included as a little add-on tutorial below). What do you think of the results?

I thought adding a simple strap worked really nicely, and for this clutch I decided to use the same fabric for both the main body and the band across it, mainly due to a lack of any matching fabric - but I think it works very well.
As usual the clutch will be on auction this week for Macmillan Cancer Support. When it is listed it will appear below:
Clutch Tutorial Add On:
Follow this fantastic gathered clutch bag tutorial by Noodle-Head.com with these addition steps.
1. Cut a piece of fabric (matching or contrasting - your choice) that measures 12.4 inches by 3.5 inches.
2. Press it in half lengthwise, open and then press each long raw edge into the middle towards the line you just pressed so that you only have the raw edges showing at either end.


3. The sew some finishing stitches down either side of your strap (1/4 inch from the edge or so) so that is has a nice finished edges.


4. Set your strap aside until it comes time to assemble the entire thing. Fold the band over and pin it into the seam of which ever side you want your strap to be on, so that it sits just under the zipper.
5. Sew following the same instructions, but making sure to catch the strap so that is it nice and secure. I also add an extra line of stitching between the seam and the raw edges to reinforce the strap.
No comments:
Post a Comment